다음 내용들은 [핵심만 골라배우는 SwiftUI 기반 iOS 프로그래밍] 을 공부하면서 정리한 내용 입니다.
이번에는 리스트와 네비게이션 그리고 fullScreenCover에 대해서 정리해 보겠습니다.
1.리스트
리스트뷰란 수직 방향으로 일정 목록을 보여주는 뷰를 말합니다.
struct ContentView: View {
var body: some View{
List{
Text("one")
Text("two")
Text("three")
Text("four")
Text("five")
}
}
}
struct ContentView_Previews: PreviewProvider {
static var previews: some View {
ContentView()
}
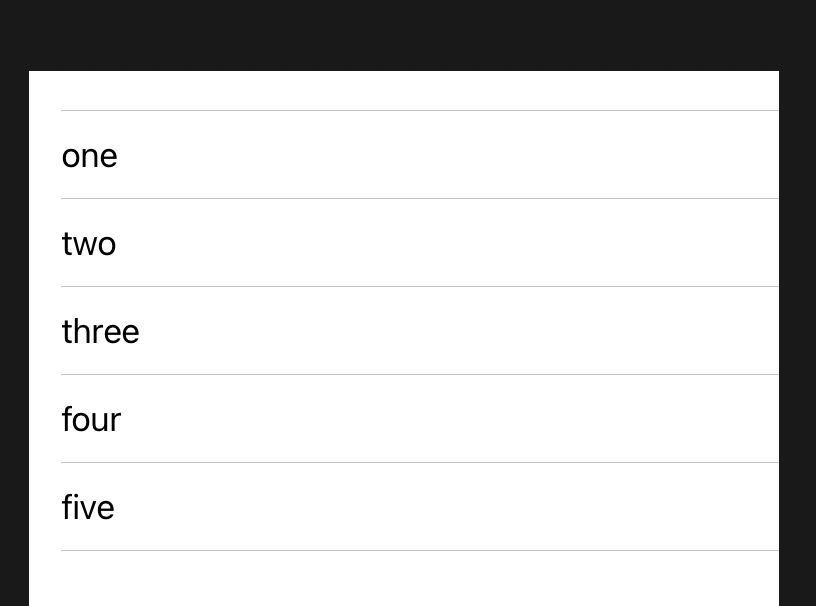
}간단하게 위와 같이 코드를 작성하면

이런 결과를 볼 수 있습니다.
하지만 이렇게 사용하면 List 뷰를 쓸 필요 없이 VStack에 뷰와 Divider로 만들어 버릴 수 있을 것입니다.
List뷰는 배열을 제공하고 그 데이터를 리스트의 항목으로 표현 할 수 있습니다. 그럼 간단하게 그 항목을 만들어 보겠습니다.
import SwiftUI

struct ContentView: View {

    let testlist : [TestItem] = [
        TestItem(text: "Camera", image: "camera"),
        TestItem(text: "Cloud", image: "cloud"),
        TestItem(text: "Book", image: "book"),
        TestItem(text: "Star", image: "star"),
        TestItem(text: "Alarm", image: "alarm"),

    ]
    var body: some View{
        List(testlist){ item in
            HStack{
                Image(systemName: item.image)
                Text(item.text)
            }
        }
    }
}

struct TestItem : Identifiable {
    var id = UUID()
    var text : String
    var image : String
}


struct ContentView_Previews: PreviewProvider {
    static var previews: some View {
        ContentView()
    }
}
위에 testlist라는 배열을 만들고, 그 항목을 TestItem으로 만들었습니다. 그리고 TestItem을 보면 Identifiable을 상속 받고 있습니다. SwiftUI에서 리스트와 같이 항목이 추가, 편집, 삭제 될 수 있고, 동적으로 반영할수있는 뷰들에 사용되는 데이터들은 Identifiable 프로토콜을 따르는 클래스 또는 구조체여야 합니다. 그리고 이런 Identifiable 프로토콜을 사용 하려면 항목에 고유 식별자가 있어야합니다. 그래서 저는 id = UUID()로 고유 식별자를 만들어 주었습니다.
고유 식별자가 필요이유는 identifiable 의 정의를 보면
@available(macOS 10.15, iOS 13, tvOS 13, watchOS 6, *)
public protocol Identifiable {

    /// A type representing the stable identity of the entity associated with
    /// an instance.
    associatedtype ID : Hashable

    /// The stable identity of the entity associated with this instance.
    var id: Self.ID { get }
}
hashalbe 데이터를 사용하는 구분자 id가 필요하기 때문입니다.
그래서 상위 코드를 실행하면
그리고 정적 데이터와 동적 데이터를 함께 서야할 경우에는 ForEach를 사용하여 만들 수 있습니다.
import SwiftUI

struct ContentView: View {
    @State private var isShowImage : Bool = true
    var testlist : [TestItem] = [
        TestItem(text: "Camera", image: "camera"),
        TestItem(text: "Cloud", image: "cloud"),
        TestItem(text: "Book", image: "book"),
        TestItem(text: "Star", image: "star"),
        TestItem(text: "Alarm", image: "alarm"),

    ]
    var body: some View{
        List{
            Toggle(isOn:
                    $isShowImage, label: {
                        Text("isShowImage")
                    })
            ForEach(testlist) {item in
                HStack{
                    if isShowImage {
                    Image(systemName: item.image)
                    }
                    Text(item.text)
                }
            }
        }
    }
}

struct TestItem : Identifiable {
    var id = UUID()
    var text : String
    var image : String
}


struct ContentView_Previews: PreviewProvider {
    static var previews: some View {
        ContentView()
    }
}
위와 같이 작성을 하면
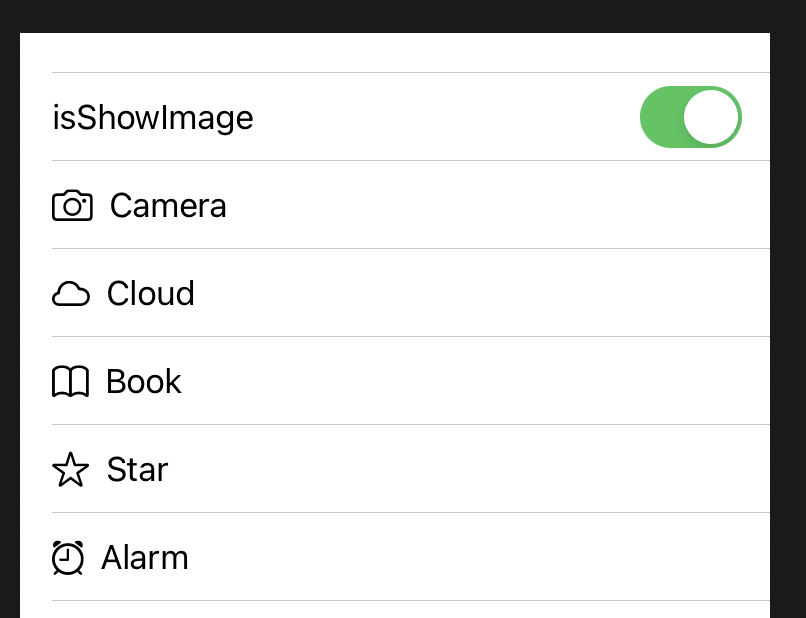
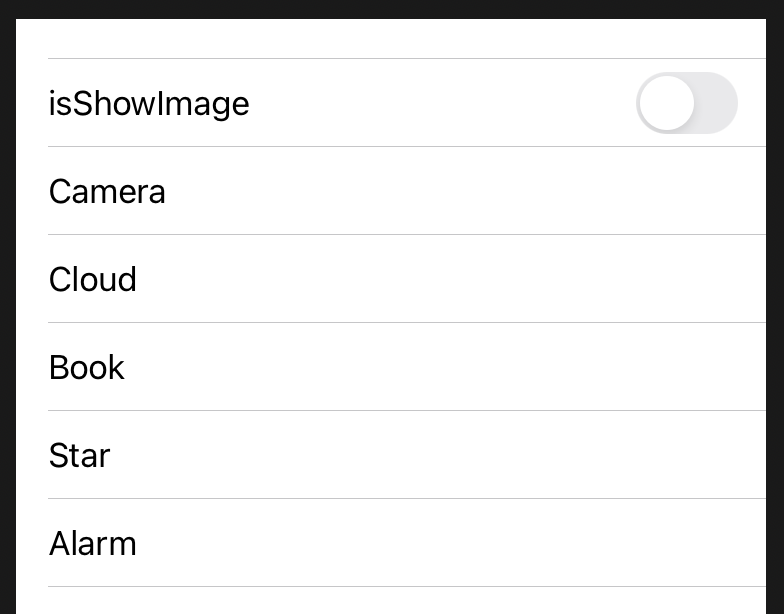
이렇게 이미지를 show/hide 할 수 있습니다. (테스트는 Live Preview 로 확인 할 수 있습니다.)
그리고 Section을 주어 구분자를 줄 수 있습니다.
var body: some View{
List{
Section(header: Text("Toggle")){
Toggle(isOn:
$isShowImage, label: {
Text("isShowImage")
})
}
Section(header: Text("List")){
ForEach(testlist) {item in
HStack{
if isShowImage {
Image(systemName: item.image)
}
Text(item.text)
}
}
}
}
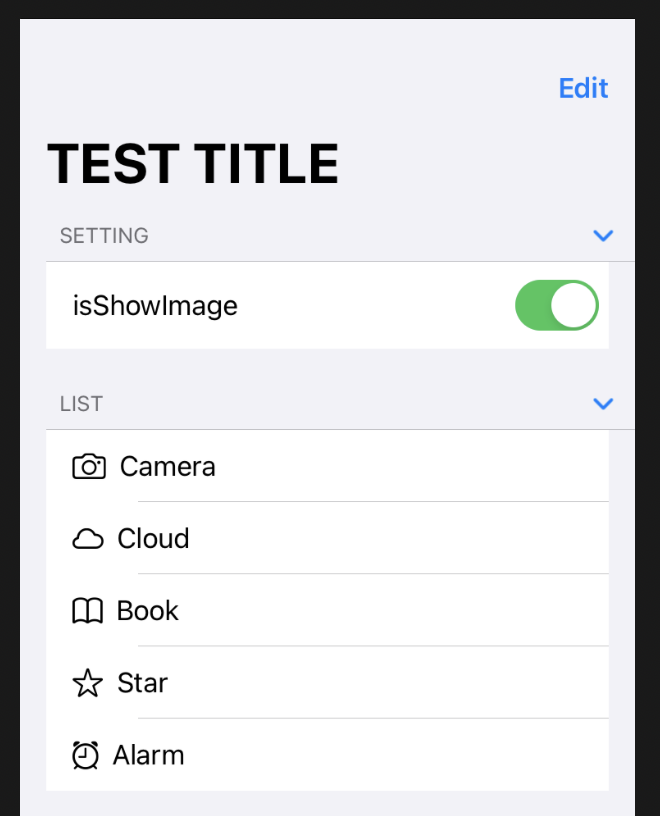
}이렇게 Section을 주면 다음과 같이 Header 구분자를 볼 수 있습니다. (Section은 header 뿐만 아니라 footer도 있습니다.)

1-1 리스트 삭제 및 편집
리스트의 항목을 삭제하거나 편집이 가능합니다.
삭제는 다음과 같이 ForEach에 onDelete를 붙여 줍니다.
ForEach(testlist) {item in
    HStack{
        if isShowImage {
            Image(systemName: item.image)
        }
        Text(item.text)
    }
}.onDelete(perform: { indexSet in
    // 삭제 동작
    //testlist.remove(atOffsets: indexSet)
})
이렇게 작업하고 Live preview를 가동하고 리스트 항목중 한개를 좌로 드레그하면
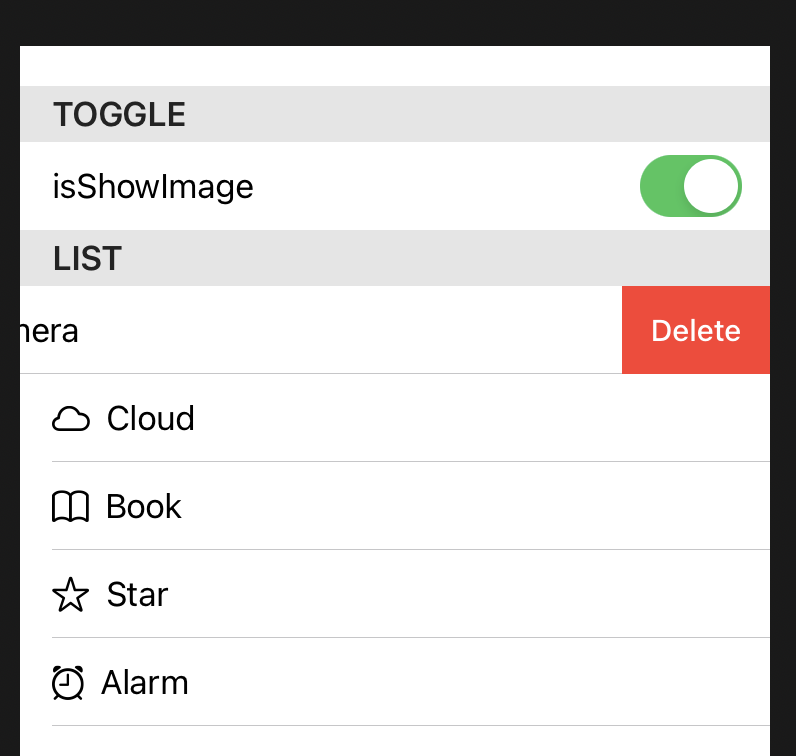
이렇게 Delete가 나와 클릭으로 지우거나 아예 끝까지 드레그하면 삭제를 할 수 있습니다. 하지만 삭제가 되지 않으 것입니다. 그 이유는 위의 동작을 수행하면 onDelete에서 주석부분인 remove 동작이 이뤄저야 하는데,
Cannot use mutating member on immutable value: 'self' is immutable 이런 이유로 삭제를 할 수 없기 때문에 삭제가 되지 않을 것입니다. 그래서 배열을
    @State private var testlist : [TestItem] =
        [
            TestItem(text: "Camera", image: "camera"),
            TestItem(text: "Cloud", image: "cloud"),
            TestItem(text: "Book", image: "book"),
            TestItem(text: "Star", image: "star"),
            TestItem(text: "Alarm", image: "alarm"),

        ]
State 상태로 변경하면 삭제에 대한 액션을 확인 할 수 있습니다.
다음으로 편집은
ForEach(testlist) {item in
    HStack{
        if isShowImage {
            Image(systemName: item.image)
        }
        Text(item.text)
    }
}.onDelete(perform: { indexSet in
    // 삭제 동작
    testlist.remove(atOffsets: indexSet)
})onMove(perform: { indices, newOffset in
    testlist.move(fromOffsets: indices, toOffset: newOffset)
})
onDelete와 같은 위치에 onMove를 추가하고 indices를 처음 위치 , newoffset을 이동 위치로 해서 배열의 move를 동작시켜 주면 됩니다.
그런데 위와 같이 onMove만 추가한다고 편집을 할 수 는 없습니다. 그래서 추가로 해주어야 할 작업은 List에 다음과 같이 navigationBarItmes를 붙여 줘야합니다. 추가로 navigationBarTitle 도 추가하였습니다. 그리고 navigationBarItmes와navigationBarTitle 가 동작하기 위해서는 List뷰를 NavigationView로 감싸야 합니다.
그래서 추가된 full 코드를 보면
import SwiftUI
struct ContentView: View {
@State private var isShowImage : Bool = true
@State private var testlist : [TestItem] =
[
TestItem(text: "Camera", image: "camera"),
TestItem(text: "Cloud", image: "cloud"),
TestItem(text: "Book", image: "book"),
TestItem(text: "Star", image: "star"),
TestItem(text: "Alarm", image: "alarm"),
]
var body: some View{
NavigationView {
List {
Section(header: Text("Setting")){
Toggle(isOn:
$isShowImage, label: {
Text("isShowImage")
})
}
Section(header: Text("List")){
ForEach(testlist) {item in
HStack{
if isShowImage {
Image(systemName: item.image)
}
Text(item.text)
}
}.onDelete(perform: { indexSet in
// 삭제 동작
testlist.remove(atOffsets: indexSet)
}).onMove(perform: { indices, newOffset in
testlist.move(fromOffsets: indices, toOffset: newOffset)
})
}
}.navigationBarItems(trailing: EditButton())
.navigationBarTitle(Text("TEST TITLE"))
}
}
}
struct TestItem : Identifiable {
var id = UUID()
var text : String
var image : String
}
struct ContentView_Previews: PreviewProvider {
static var previews: some View {
ContentView()
}
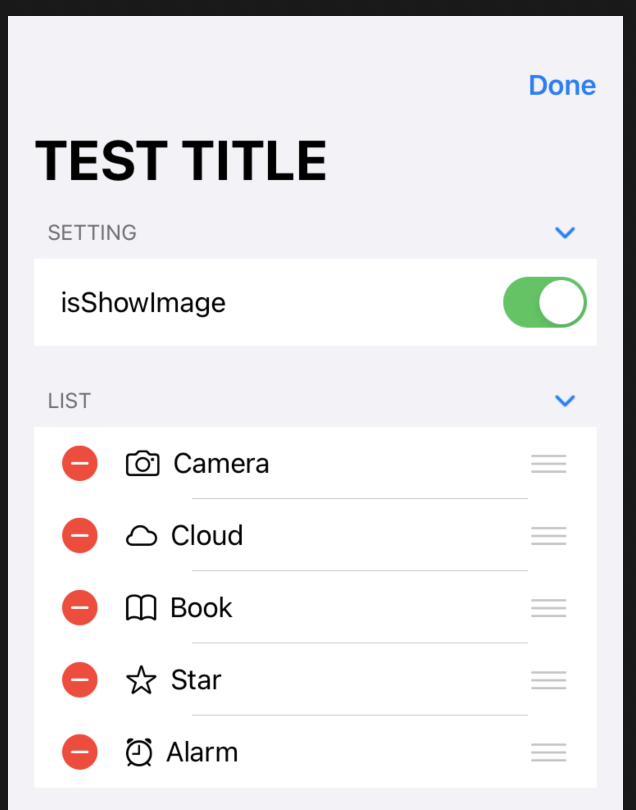
}결과를 볼 수 있고
Edit를 누르면 아래와 같이 바뀌여 오른쪽에 줄 세개를 눌러 순서를 바꾸거나(onMove) 왼쪽에 값을 눌러 삭제(onDelete)를 할 수 있습니다.
2.네비게이션
뷰에서 뷰로 이동을 하는 방법중 한게는 NavigationLink라는 항목이 있습니다. 이를 통하여 화면을 변경 할 수 있습니다. 그럼 위에서 사용한 코드를 사용하여 설명하겠습니다.
    var body: some View{
        NavigationView {
            List {
                Section(header: Text("Setting")){
                    Toggle(isOn:
                            $isShowImage, label: {
                                Text("isShowImage")
                            })
                }
                Section(header: Text("List")){
                    ForEach(testlist) {item in
                        HStack{
                            NavigationLink(
                                destination: Text(item.text),
                                label: {
                                    if isShowImage {
                                        Image(systemName: item.image)
                                    }
                                    Text(item.text)
                                })
                        }
                    }.onDelete(perform: { indexSet in
                        // 삭제 동작
                        testlist.remove(atOffsets: indexSet)
                    }).onMove(perform: { indices, newOffset in
                        testlist.move(fromOffsets: indices, toOffset: newOffset)
                    })
                }
            }.navigationBarItems(trailing: EditButton())
            .navigationBarTitle(Text("TEST TITLE"))
        }

    }
List 뷰안의 ForEach문안에 HStack을 NavigationLink로 변경합니다. 그러면 화면에 다음과 같이 리스트 항목마다 화살표가 생기는 것을 확인 할 수 있습니다.
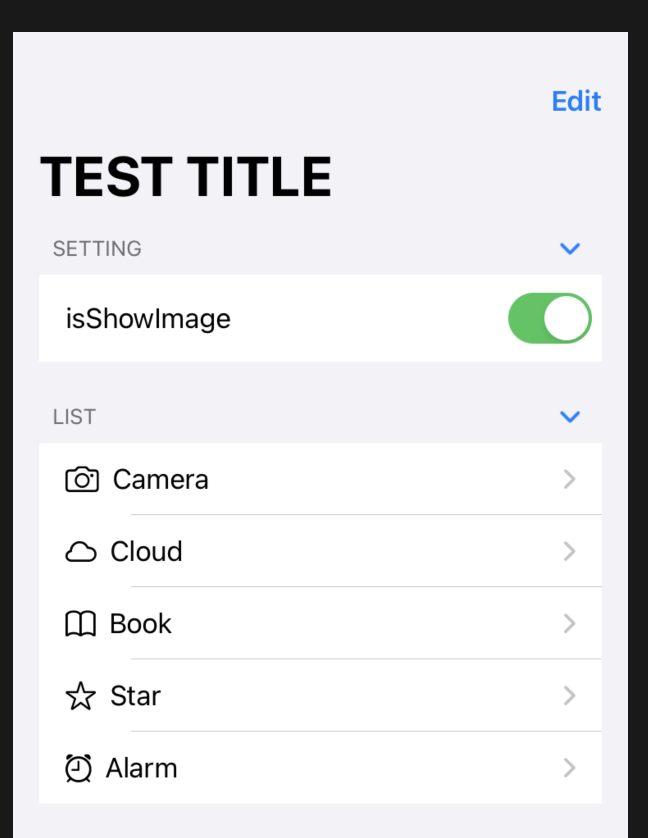
그리고 그 화살표를 누르면
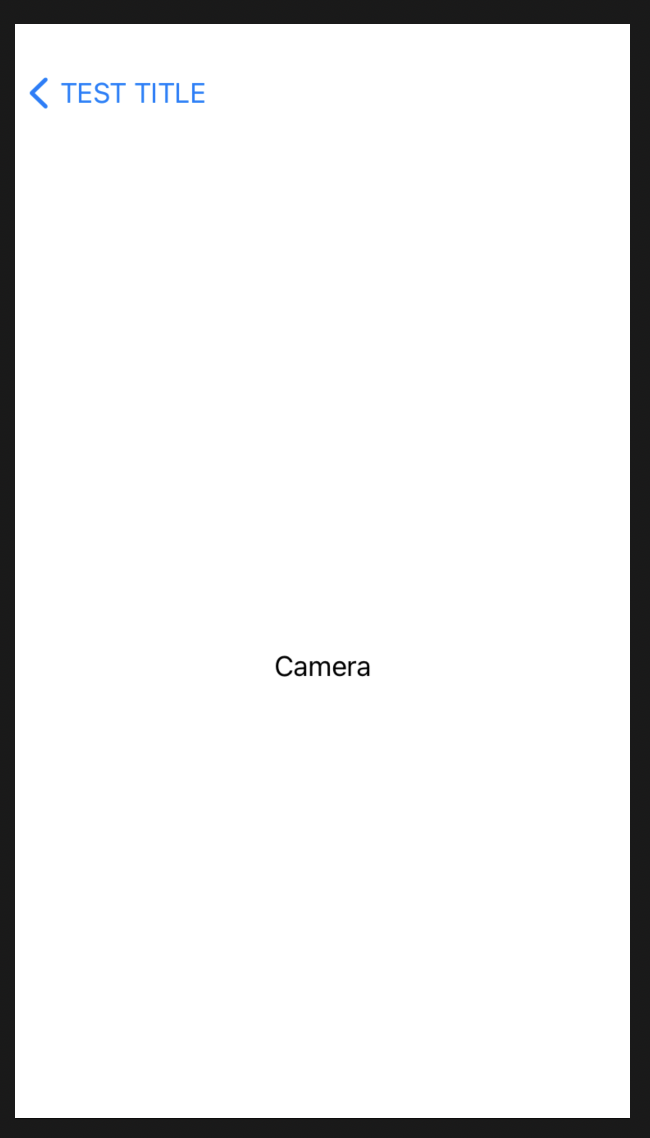
화면이 변경되는 것을 확인 할 수 있고, TEST TITLE을 누르면 이전 화면으로 돌아 갑니다.
만일 NavigationLink의 destination: 에 특정 View를 적용하고 화살표를 누르면 그 적용하 뷰로 이동이 딥니다.
HStack{
	NavigationLink(
		destination: NextView(),
		label: {
		if isShowImage {
			Image(systemName: item.image)
		}
		Text(item.text)
	})
}
하지만 화면 이동이 NavigataionLinK만 존재하는 것은 아닙니다.
아래와 같이 Button을 누렀을 때 fullScreenCover를 호출하도록 하면 다음 뷰가 아래서 위로 올라옵니다. (NavigationLink는 오른쪽에서 왼쪽으로 사라질떄는 왼쪽에서 오른쪽으로 갑니다. 그리고 NavigationLink와 다르게 돌아가는 Back 버튼도 존재하지 않아 따로 만들어 주어야 합니다. NextVIew는 Text만 존재하는 기본 SwiftUI 뷰 입니다.)
import SwiftUI

struct ContentView: View {
    @State private var isNext: Bool = false
    var body: some View {
        Button("NextView"){
            self.isNext.toggle()
        }.fullScreenCover(isPresented: $isNext, content: NextVIew.init)
    }
}

struct ContentView_Previews: PreviewProvider {
    static var previews: some View {
        ContentView()
    }
}
'2023년 이전 > iOS' 카테고리의 다른 글
| SwiftUI - 상태, Observable 객체, Environment 객체 (0) | 2020.10.04 |
|---|---|
| SwiftUI - 스택과 프레임 (0) | 2020.10.04 |
| SwiftUI - View (0) | 2020.10.04 |
| SwiftUI- - tutorial - Animating Views and Transitions (0) | 2020.08.27 |
| SwiftUI - tutorial - Handling User Input (0) | 2020.07.19 |


